There’s something undeniably magical about perfectly cooked pork belly – that contrast between melt-in-your-mouth tender meat and shatteringly crisp skin is one of life’s great culinary pleasures. For years, I thought achieving this perfection was only possible in restaurants or with fancy equipment, but I’ve discovered a game-changing method: the air fryer. Today, I’m sharing my foolproof pork belly air fryer recipe that delivers restaurant-quality results right in your home kitchen.
As someone who cooks for a family with varying schedules, I appreciate how the air fryer has revolutionized my meal preparation. It’s quicker than oven methods, requires minimal cleanup, and consistently produces that coveted crispy exterior without the mess and calories of deep frying. Whether you’re preparing a special weekend dinner or wanting to elevate your weeknight meals, this recipe will become a family favorite.
Why You’ll Love This Recipe
Before diving into the details, let me share why this air fryer pork belly recipe deserves a spot in your regular cooking rotation:
- Perfect Texture Contrast: Achieve that magical combination of crispy skin and tender, juicy meat
- Reduced Fat Cooking: Enjoy the decadence of pork belly with less oil than traditional methods
- Time-Saving: Cut cooking time significantly compared to oven roasting
- Versatile Serving Options: Works as a main dish, in tacos, ramen, or on rice bowls
- Simple Ingredients: Requires mostly pantry staples for the marinade
- Make-Ahead Friendly: Prep the day before and cook when needed
Ingredients You’ll Need
For this recipe, quality matters. When shopping for pork belly, look for a piece with an even fat-to-meat ratio and, if possible, skin-on for that perfect crackling.
For the Pork Belly:
- 2 pounds pork belly (preferably skin-on)
- 1 tablespoon kosher salt
- 1 teaspoon baking powder (this helps create extra crispy skin)
- 1 tablespoon five-spice powder
- 2 teaspoons white pepper
- 1 tablespoon brown sugar
For the Optional Glaze:
- 3 tablespoons honey or maple syrup
- 2 tablespoons soy sauce
- 1 tablespoon rice vinegar
- 2 cloves garlic, minced
- 1-inch piece ginger, grated
- 1 teaspoon sesame oil
- 1 teaspoon chili flakes (optional)
Essential Equipment
While this recipe is straightforward, having the right equipment makes a significant difference:
- Air Fryer: A 5-quart or larger model works best
- Sharp Knife: For scoring the skin properly
- Paper Towels: For drying the pork belly thoroughly
- Meat Thermometer: To ensure perfect doneness
- Pastry Brush: For applying glaze
- Storage Container: For marinating overnight if desired
Step-by-Step Instructions
Preparation Phase
- Prep the pork belly: Pat the pork belly dry with paper towels. This step is crucial for crispy skin, so take your time.
- Score the skin: Using a sharp knife, score the skin in a diamond pattern, cutting through the skin but not into the meat. Make cuts about ½-inch apart.
- Salt treatment: Rub the kosher salt all over the pork belly, focusing on working it into the score marks on the skin. Place the salted pork belly on a plate, skin-side up, and refrigerate uncovered for at least 1 hour (or overnight for best results). This draws out moisture from the skin, which is essential for achieving crackling.
- Season the meat: After the salting period, rinse the pork belly thoroughly and pat completely dry. Mix the five-spice powder, white pepper, brown sugar, and baking powder. Season the meat side (not the skin) with this mixture, rubbing it in well.
- Final drying: Return the seasoned pork belly to the refrigerator, uncovered, skin-side up, for another 1-2 hours or overnight. This further dries the skin for maximum crispness.
Cooking Process
- Preheat the air fryer: Set your air fryer to 350°F (175°C) and allow it to preheat for 3-5 minutes.
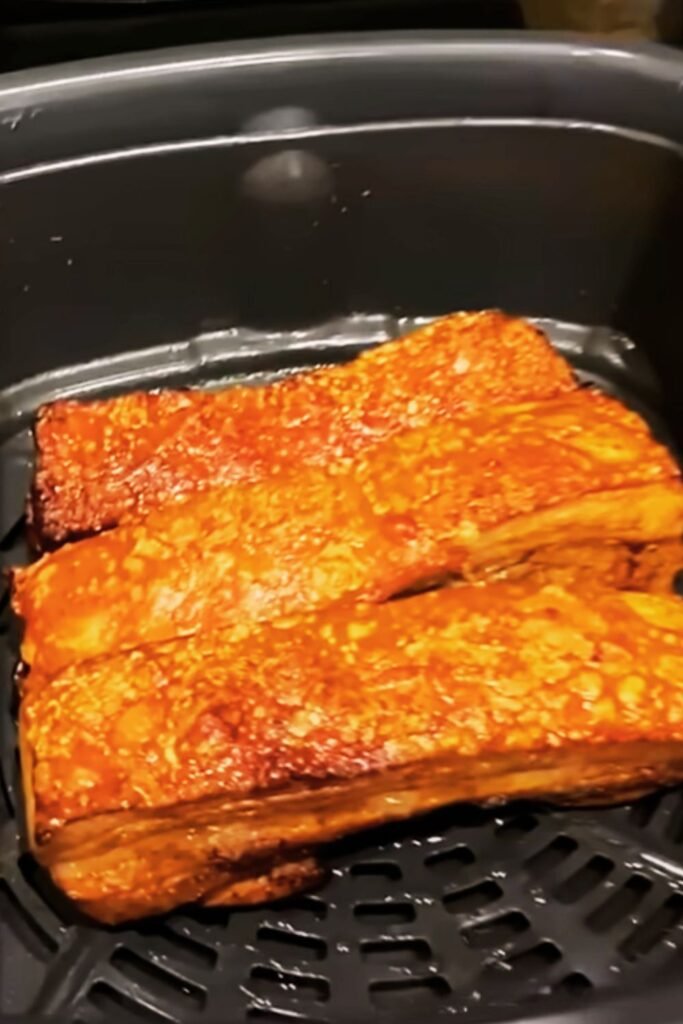
- Initial cooking: Place the pork belly in the air fryer basket, skin-side up. Cook at 350°F for 25 minutes. This step renders fat and begins cooking the meat through.
- Increase temperature: Without removing the pork belly, increase the temperature to 400°F (200°C) and cook for another 10-15 minutes until the skin is golden and crispy.
- Temperature check: Use a meat thermometer to ensure the internal temperature has reached 145°F (63°C) at its thickest point.
- Optional glazing: If using the glaze, mix all glaze ingredients in a small saucepan. Simmer for 5 minutes until slightly thickened. Brush the glaze on the meat side only (not the skin) during the last 5 minutes of cooking.
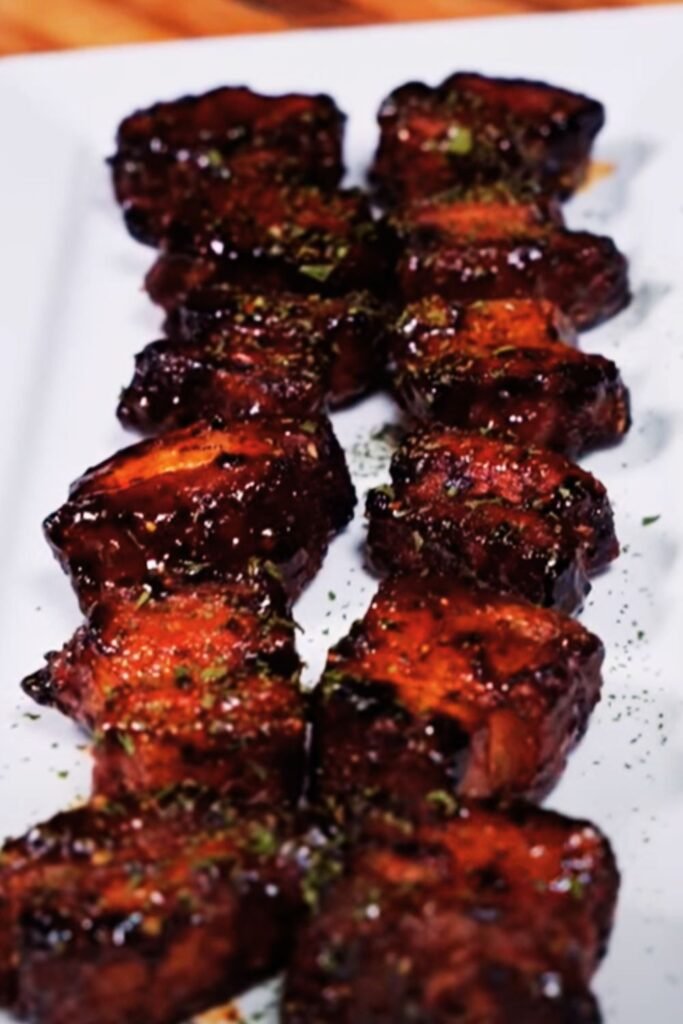
- Rest before serving: Allow the pork belly to rest for 10 minutes before slicing. This helps the juices redistribute and the meat remain tender.
Serving Suggestions
- Slice into 1-inch pieces and serve with steamed rice and stir-fried vegetables
- Add to ramen or noodle soup for a luxurious protein addition
- Create pork belly tacos with fresh slaw and pickled vegetables
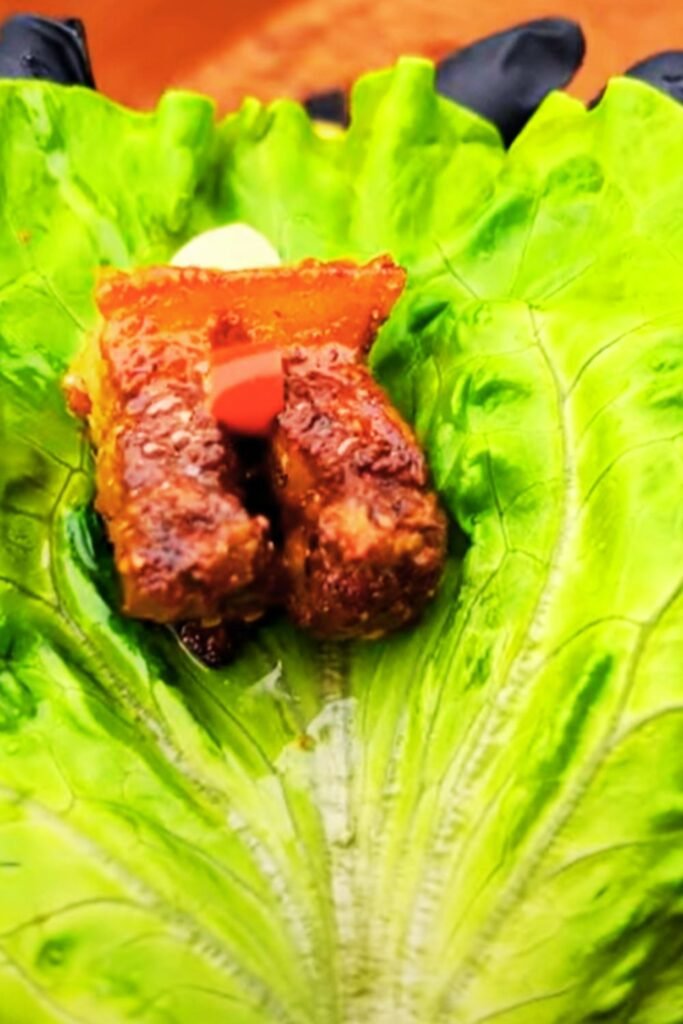
- Serve as an appetizer with dipping sauce and cucumber slices
- Add to fried rice or stir-fries for incredible flavor
Pro Tips for Perfect Air Fryer Pork Belly
Through much experimentation, I’ve discovered several secrets to elevating this dish from good to exceptional:
- Dryness is key: The drier the skin before cooking, the crispier it will be. Don’t rush the drying process.
- Patience with scoring: Take time to score properly – too deep and you’ll cut into the meat; too shallow and the fat won’t render properly.
- Don’t overcrowd: Cook in batches if necessary – pork belly needs air circulation to crisp properly.
- Watch carefully: Air fryers can quickly take skin from perfectly crisp to burnt, especially during the high-temperature phase.
- Cut against the grain: When serving, slice against the grain for the most tender texture.
- Save the drippings: The rendered fat that collects in the air fryer drawer is liquid gold for cooking vegetables or making the base for sauces.
Nutritional Information
Understanding the nutritional content helps with meal planning. Here’s a breakdown per serving (assuming 6 servings from 2 pounds):
| Nutrient | Amount per Serving |
|---|---|
| Calories | 480 |
| Protein | 18g |
| Fat | 42g |
| Saturated Fat | 15g |
| Carbohydrates | 6g |
| Sugar | 5g |
| Fiber | 0g |
| Sodium | 620mg |
| Potassium | 310mg |
| Vitamin B1 | 0.6mg |
| Vitamin B12 | 0.8μg |
| Zinc | 2.5mg |
| Iron | 1.2mg |
Storage and Reheating Guidance
Properly stored, cooked pork belly remains delicious for several days:
Storage Options:
- Refrigerator: Store in an airtight container for up to 3 days
- Freezer: Wrap well in plastic wrap, then foil, and freeze for up to 2 months
Reheating Methods Comparison:
| Method | Pros | Cons | Instructions |
|---|---|---|---|
| Air Fryer | Restores crispiness perfectly | Small batches only | 350°F for 3-5 minutes |
| Oven | Good for larger portions | Takes longer | 350°F for 10-12 minutes |
| Microwave | Quickest option | Loses crispiness | 1 minute on medium power, then crisp in pan |
| Skillet | Great control over crispiness | Requires attention | Medium heat, 2-3 minutes per side |
For best results, I recommend reheating in the air fryer at 350°F for 3-5 minutes, which remarkably restores the crispy exterior while keeping the meat tender.
Variations to Try
The beauty of this basic method is its adaptability. Here are some delicious variations to explore:
Flavor Profiles:
- Korean-Style: Replace five-spice with gochujang paste and add a tablespoon of gochugaru for heat
- Italian Herbs: Use rosemary, sage, and garlic instead of five-spice
- Cajun Seasoning: Apply a Cajun spice rub for a Louisiana-inspired version
- Maple Bacon: Use maple syrup, smoked paprika, and black pepper as your seasoning
Technique Variations:
- Twice-Cooked Method: Simmer the pork belly in aromatics for 30 minutes before air frying
- Sous Vide First: Cook at 165°F for 8 hours in sous vide, then finish in the air fryer
- Sliced Before Cooking: Cut into ½-inch slices before air frying for pork belly “chips”
Troubleshooting Common Issues
Even with the best preparation, sometimes things don’t go as planned. Here’s how to address common challenges:
| Problem | Possible Cause | Solution |
|---|---|---|
| Skin not crispy | Insufficient drying | Extend refrigerator drying time; pat skin completely dry before cooking |
| Meat too dry | Overcooked | Reduce cooking time; use meat thermometer |
| Uneven cooking | Uneven pork belly thickness | Cut into similar-sized pieces before cooking |
| Excessive smoke | Rendered fat burning | Clean air fryer between batches; reduce temperature |
| Too salty | Over-salting during prep | Rinse thoroughly after salt treatment; reduce salt amount |
| Tough texture | Poor quality meat or wrong cut | Select belly cuts with good meat-to-fat ratio |
Perfect Pairings
Complement your pork belly with these perfect side dishes:
- Asian Slaw: Crisp cabbage, carrots, and daikon with rice vinegar dressing
- Steamed Bao Buns: Fill with sliced pork belly and quick-pickled vegetables
- Mashed Sweet Potatoes: The sweetness balances the rich pork
- Braised Bok Choy: Light and complementary to the heavy pork
- Cucumber Salad: Refreshing counterpoint with rice vinegar and sesame oil
- Kimchi: Traditional fermented accompaniment that cuts through richness
For beverages, consider sparkling water with citrus, iced jasmine tea, or kombucha to cut through the richness.
Frequently Asked Questions
After sharing this recipe with friends and family, these are the questions I’m most commonly asked:
Q: Can I make this recipe with skinless pork belly? Yes, you can. While you won’t get the crackling, the meat will still be delicious. Reduce the initial cooking time by about 5 minutes.
Q: How do I know when the pork belly is done? The most reliable method is using a meat thermometer – the internal temperature should reach 145°F (63°C). Visually, the meat should be tender and the fat translucent.
Q: Why is my pork belly chewy rather than tender? This usually happens when the cooking temperature is too high throughout. The two-stage cooking process (starting lower, then increasing) helps prevent this issue.
Q: Can I prepare this dish in advance for a party? Absolutely! Cook the pork belly fully, then refrigerate. About 15 minutes before serving, reheat in the air fryer at 350°F for 5-7 minutes to restore crispiness.
Q: Is it necessary to score the skin? Yes, scoring helps the fat render properly and creates more surface area for crisping. It also allows seasonings to penetrate more effectively.
Q: How thick should I slice the pork belly for serving? For main dishes, ½-inch to 1-inch slices work well. For appetizers or tacos, thinner ¼-inch slices are better.
Q: Can I substitute the five-spice powder with something else? Yes, a mixture of equal parts cinnamon, star anise, cloves, fennel seeds, and Szechuan peppercorns works well, or use other seasoning blends based on your preference.
Q: Is baking powder really necessary? While not absolutely essential, it significantly improves skin crispiness by altering the pH level of the skin, helping it brown and crisp more effectively.
My Personal Journey with This Recipe
I first attempted cooking pork belly years ago, inspired by a memorable restaurant dish. My early efforts involved complicated multi-day processes and specialty equipment, with mixed results. When I received an air fryer as a gift, it was initially relegated to the back of my pantry.
During a particularly busy week, I decided to experiment with cooking pork belly in the air fryer as a shortcut. To my surprise, it produced better results than my previous elaborate methods. The key breakthrough came when I combined traditional Chinese techniques (proper scoring, salt treatment, and drying) with the air fryer’s efficiency.
Now, this has become one of my signature dishes – one that friends request when they visit and that my family asks for regularly. I’ve refined the process through dozens of attempts to create what I believe is the perfect balance of simplicity and spectacular results.
I hope this recipe brings as much joy to your table as it has to mine. The look of delight when someone takes their first bite of perfectly crispy, juicy pork belly makes all the preparation worthwhile.