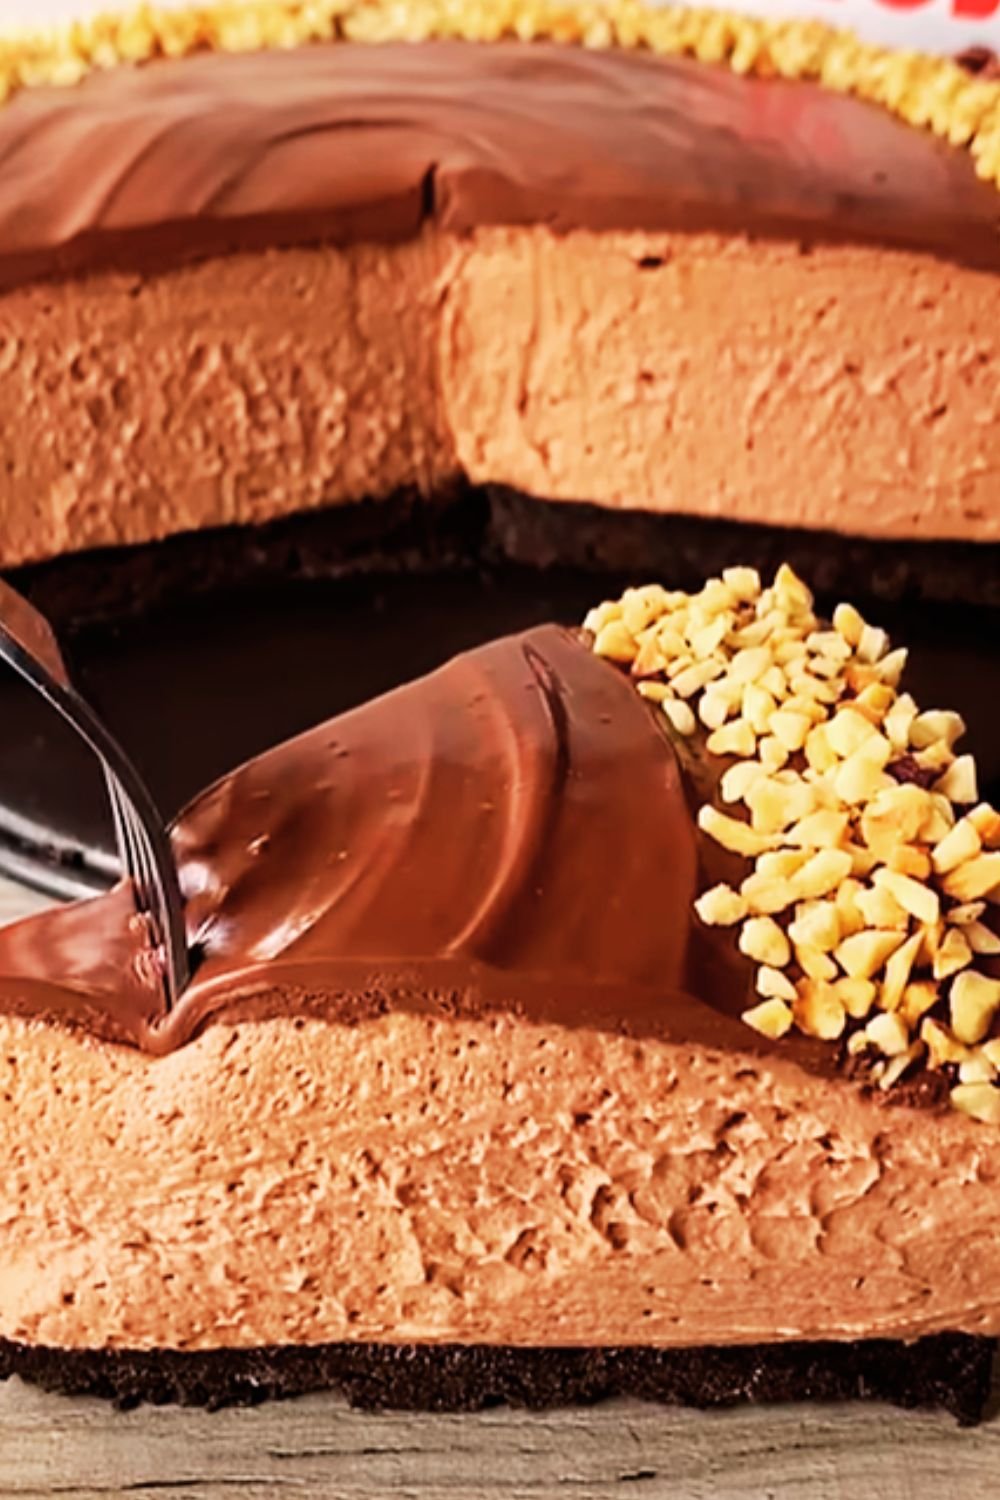
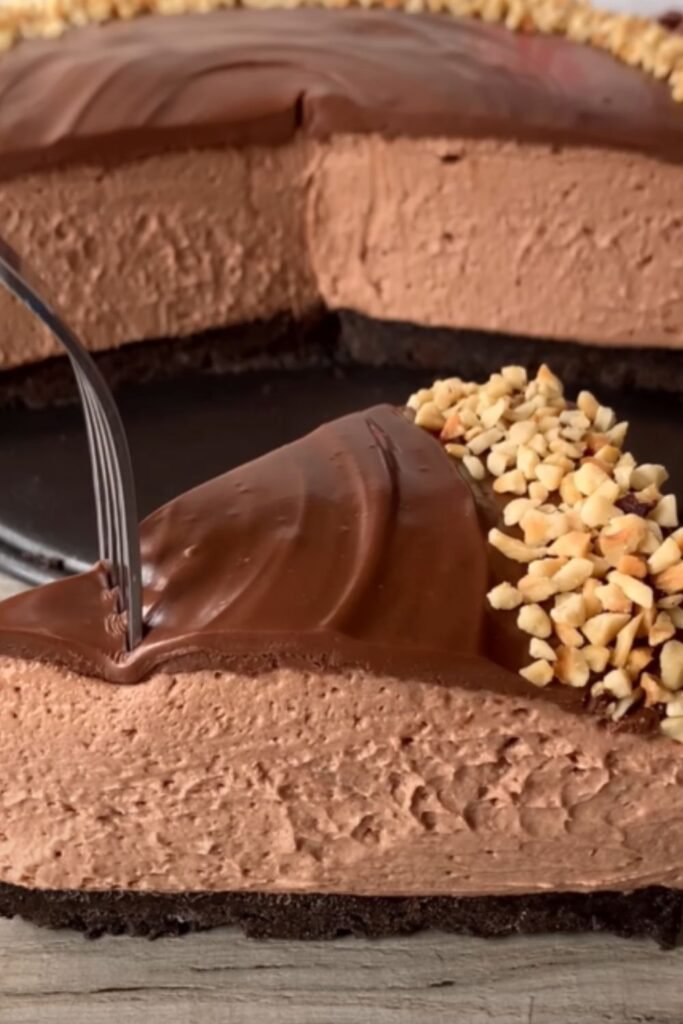
There’s something magical about the combination of chocolate and hazelnut that simply makes my taste buds dance with joy. When these two flavors come together in a creamy cheesecake, the result is nothing short of spectacular. Today, I’m sharing my absolute favorite recipe for Chocolate Hazelnut Cheesecake – a dessert that has impressed countless dinner guests and become my go-to celebration cake.
This isn’t just any cheesecake. The rich, nutty flavor of hazelnuts paired with deep, dark chocolate creates a symphony of taste that’s both sophisticated and comforting. The velvety texture melts in your mouth while the crunchy base provides the perfect contrast. Whether you’re a seasoned baker or trying your hand at cheesecake for the first time, this recipe is designed to guide you through each step to create a showstopping dessert.
What Makes This Cheesecake Special
Before diving into the recipe, let me share why this particular chocolate hazelnut cheesecake stands out from others you might have tried:
- The crust combines both chocolate cookies and toasted hazelnuts for extra depth of flavor
- A layer of hazelnut spread is baked into the bottom for a surprise flavor burst
- The cheesecake batter includes both melted chocolate and hazelnut paste
- A water bath method ensures the perfect texture without cracks
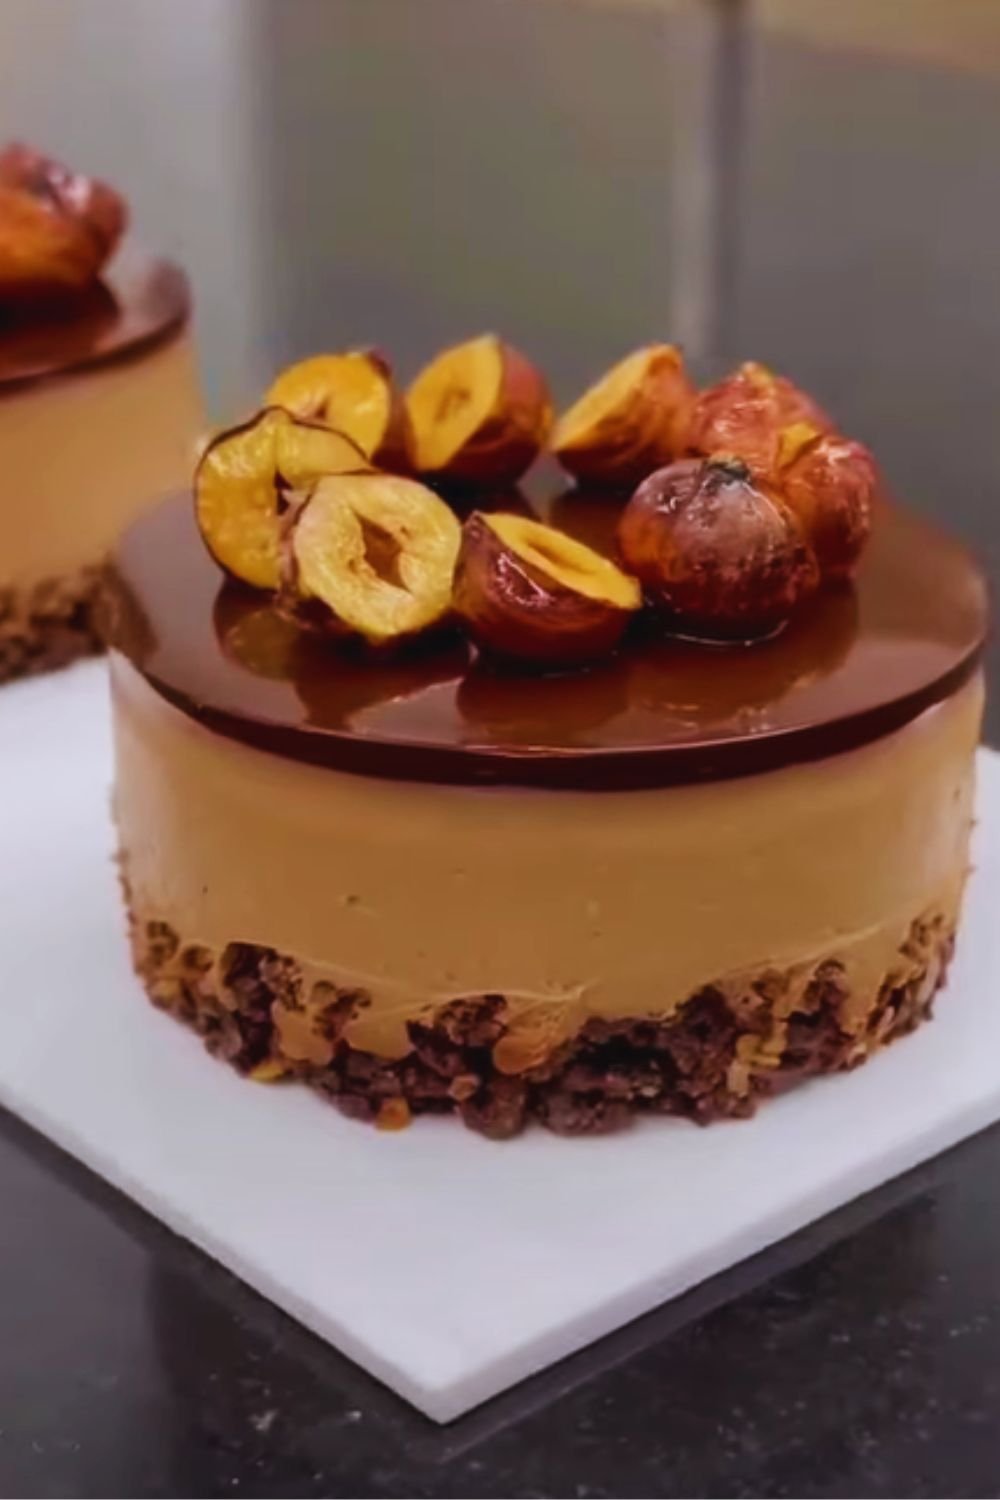
- The ganache topping adds another layer of chocolate luxury
Now, let’s gather our ingredients and create this masterpiece together!
Ingredients
For the Crust
- 200g chocolate digestive biscuits (or chocolate graham crackers)
- 100g toasted hazelnuts, finely chopped
- 80g unsalted butter, melted
- 2 tablespoons granulated sugar
- Pinch of salt
For the Filling
- 750g cream cheese, at room temperature
- 200g granulated sugar
- 4 large eggs, at room temperature
- 200g dark chocolate (70% cocoa), melted and slightly cooled
- 150g hazelnut spread (like Nutella)
- 100g hazelnut paste (or additional hazelnut spread)
- 2 teaspoons vanilla extract
- 60ml heavy cream
- 2 tablespoons all-purpose flour
- Pinch of salt
For the Chocolate Ganache Topping
- 200g dark chocolate, chopped
- 200ml heavy cream
- 2 tablespoons unsalted butter
- 1 tablespoon hazelnut liqueur (optional)
For Decoration
- 50g toasted hazelnuts, roughly chopped
- Chocolate curls
- Gold leaf (optional, for special occasions)
- Fresh berries (optional)
Equipment Needed
Before starting, make sure you have these essential tools:
- 9-inch (23cm) springform pan
- Food processor
- Electric mixer (stand or hand)
- Large mixing bowls
- Rubber spatula
- Measuring cups and spoons
- Roasting tray (for water bath)
- Aluminum foil
- Wire cooling rack
- Offset spatula (for spreading ganache)
Detailed Preparation Method
Preparing the Crust
- Preheat your oven to 325°F (165°C).
- Toast the hazelnuts for the crust on a baking sheet for about 8-10 minutes until fragrant and skins begin to crack. Remove from oven and let cool.
- Rub the hazelnuts in a clean kitchen towel to remove as much skin as possible, then finely chop them or pulse in a food processor.
- In a food processor, pulse the chocolate biscuits until they form fine crumbs.
- In a medium bowl, combine the biscuit crumbs, chopped hazelnuts, melted butter, sugar, and salt. Mix until everything is evenly moistened.
- Press this mixture firmly into the bottom and about 1 inch (2.5cm) up the sides of a 9-inch springform pan. Use the bottom of a glass or measuring cup to compress it firmly.
- Bake the crust for 10 minutes, then remove from the oven and let cool completely.
- Once cool, spread a thin layer (about 1/4 cup) of hazelnut spread over the bottom of the crust.
- Wrap the outside of the springform pan with heavy-duty aluminum foil, making sure it comes at least halfway up the sides. This prevents water from seeping in during baking.
Making the Cheesecake Filling
- Lower the oven temperature to 300°F (150°C).
- In a large mixing bowl, beat the cream cheese on medium speed until completely smooth and free of lumps, about 3-4 minutes.
- Add the sugar gradually and continue beating until the mixture is light and fluffy, about 2 minutes more.
- Add eggs one at a time, mixing well after each addition but being careful not to overmix.
- In a separate microwave-safe bowl, melt the dark chocolate in 30-second intervals, stirring between each until smooth. Allow to cool slightly.
- Blend the melted chocolate, hazelnut spread, hazelnut paste, vanilla extract, and heavy cream into the cream cheese mixture on low speed.
- Sprinkle the flour and salt over the mixture and fold in gently with a rubber spatula until just combined.
- Pour the filling over the prepared crust and spread evenly.
Baking with the Water Bath Method
- Place the foil-wrapped springform pan in a larger roasting pan.
- Pour hot water into the roasting pan until it reaches about halfway up the sides of the springform pan.
- Carefully transfer to the oven and bake for 60-70 minutes. The cheesecake is done when the edges are set but the center still has a slight jiggle.
- Turn off the oven, crack the door open, and let the cheesecake cool in the oven for 1 hour.
- Remove from the oven and water bath, discard the foil, and let cool completely on a wire rack (about 2 hours).
- Once completely cool, refrigerate for at least 6 hours, preferably overnight.
Creating the Chocolate Ganache Topping
- Place the chopped chocolate in a heat-proof bowl.
- In a small saucepan, heat the heavy cream until it just begins to simmer at the edges (do not boil).
- Pour the hot cream over the chocolate and let sit for 1 minute.
- Gently stir until the chocolate is completely melted and the mixture is smooth.
- Add the butter and hazelnut liqueur (if using) and stir until incorporated.
- Let the ganache cool slightly until it thickens but is still pourable, about 10 minutes.
Final Assembly and Decoration
- Remove the chilled cheesecake from the refrigerator and carefully release it from the springform pan.
- Transfer to a serving plate or cake stand.
- Pour the ganache over the top of the cheesecake, using an offset spatula to spread it evenly and let some drip decoratively down the sides.
- Sprinkle the chopped toasted hazelnuts around the edge of the cheesecake.
- Add chocolate curls to the center.
- If using gold leaf, carefully place small pieces on top as an elegant accent.
- Refrigerate for 30 minutes to set the ganache.
Expert Tips for Perfect Results
My years of making this cheesecake have taught me several valuable lessons:
- Room temperature ingredients: This is crucial for a smooth, lump-free batter. Take all refrigerated ingredients out at least 2 hours before starting.
- Don’t rush the mixing: Beat the cream cheese thoroughly before adding other ingredients to ensure no lumps remain.
- Gentle folding: Once you add the eggs, mix just enough to incorporate them. Overmixing introduces air that can cause cracks.
- Water bath patience: Don’t skip this step! It’s the secret to achieving that perfect creamy texture without cracks.
- Cooling gradually: The slow cooling in the turned-off oven prevents the cheesecake from collapsing or cracking due to sudden temperature changes.
- Overnight chilling: This isn’t just for flavor development but also ensures the perfect texture for clean slices.
Troubleshooting Common Issues
| Problem | Possible Cause | Solution |
|---|---|---|
| Cracked surface | Overmixing, overbeating, or too high temperature | Mix just until ingredients are combined; use water bath; bake at correct temperature |
| Soggy crust | Water leakage from bath | Double-wrap pan with heavy-duty foil; consider using a slow cooker liner bag over the foil |
| Filling too soft | Underbaking; incorrect proportions | Ensure center still jiggles slightly but isn’t liquid; measure ingredients precisely |
| Grainy texture | Cold ingredients; sugar not fully dissolved | Use room temperature ingredients; beat cream cheese and sugar thoroughly |
| Ganache too thick | Chocolate-to-cream ratio off; cooled too much | Adjust with a bit more warm cream; apply while still pourable |
| Ganache separating | Added butter when mixture was too hot | Ensure ganache has cooled slightly before adding butter |
Nutritional Information
For those who like to keep track of their indulgences, here’s the approximate nutritional breakdown per slice (assuming 12 slices per cheesecake):
| Nutrient | Amount per Slice |
|---|---|
| Calories | 650 kcal |
| Fat | 48g |
| – Saturated Fat | 26g |
| Carbohydrates | 45g |
| – Sugar | 36g |
| Protein | 9g |
| Sodium | 320mg |
| Fiber | 2g |
Serving Suggestions
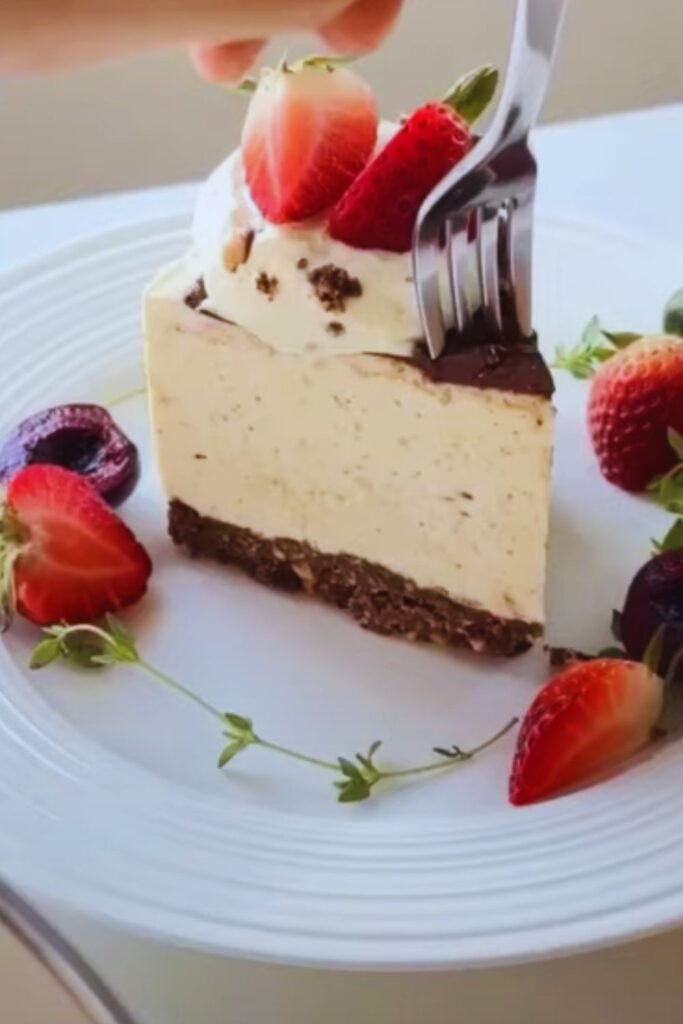
This chocolate hazelnut cheesecake is a complete dessert on its own, but here are some serving ideas that elevate it even further:
- Serve with a small scoop of vanilla bean ice cream for temperature contrast
- Add a dollop of lightly sweetened whipped cream
- Pair with fresh raspberries or strawberries to cut through the richness
- Drizzle individual slices with warm chocolate sauce
- Sprinkle with a tiny pinch of flaky sea salt to enhance the chocolate flavor
- Serve alongside a cup of rich espresso or hazelnut coffee
Make-Ahead and Storage Tips
One of the best things about this cheesecake is that it’s perfect for making ahead:
- The cheesecake (without ganache) can be refrigerated for up to 5 days.
- Fully decorated, it’s best within 3 days.
- For freezing, omit the ganache and decoration. Wrap the cooled cheesecake tightly in plastic wrap, then aluminum foil, and freeze for up to 2 months.
- Thaw overnight in the refrigerator, then top with fresh ganache and decorations.
- Individual slices can be frozen wrapped in plastic wrap and placed in an airtight container. Thaw in the refrigerator for a few hours before serving.
Variations to Try
While this recipe is perfect as is, here are some exciting variations I’ve experimented with:
Hazelnut Mocha Cheesecake
Add 2 tablespoons of espresso powder to the filling for a coffee kick that complements the chocolate and hazelnut beautifully.
White Chocolate Hazelnut Version
Replace the dark chocolate in the filling with white chocolate and marble in streaks of hazelnut spread for a stunning visual effect.
Mini Chocolate Hazelnut Cheesecakes
Use the same recipe but bake in a muffin tin lined with paper liners for approximately 20-25 minutes for individual servings.
Gluten-Free Adaptation
Use gluten-free cookies for the crust and replace the flour in the filling with cornstarch.
Special Occasion Adaptations
This cheesecake makes a wonderful celebration dessert with these special touches:
- Birthday: Place candles around the edge and dust with edible gold shimmer.
- Anniversary: Write a message or create a heart design on top using melted white chocolate.
- Holidays: Add seasonal spices like cinnamon and nutmeg to the crust for winter holidays, or decorate with themed chocolate decorations.
- Dinner Party: Serve bite-sized portions in small glasses layered with the crust, filling, and ganache for an elegant dessert.
A Note on Ingredients Quality
I’ve found that the quality of ingredients makes a significant difference in this recipe:
- Use the best quality chocolate you can afford, preferably with 70% cocoa content
- Choose a premium hazelnut spread with a high percentage of hazelnuts
- Fresh, high-quality hazelnuts will have better flavor than those that have been sitting on the shelf
- Full-fat cream cheese yields the creamiest texture
- European-style butter has a higher fat content which improves the crust and ganache
Q&A Section
Q: Can I make this cheesecake without the water bath? While you technically can, I don’t recommend it. The water bath provides gentle, even heat that prevents cracks and gives that perfectly creamy texture. If you absolutely must skip it, bake at 325°F (165°C) for 45-55 minutes and expect some cracking on the surface (which you can hide with ganache).
Q: How can I tell when the cheesecake is done baking? The perfect cheesecake should still have a slight wobble in the center when gently shaken. The edges should be set and perhaps slightly puffed, but the center 2-3 inches should jiggle like firm Jell-O. It will continue to set as it cools.
Q: Can I use milk chocolate instead of dark chocolate? Yes, but the cheesecake will be significantly sweeter. If using milk chocolate, reduce the sugar in the filling by about 50g to compensate.
Q: I don’t have hazelnut paste. What can I substitute? You can use additional hazelnut spread, but the flavor won’t be quite as intense. Another option is to make your own hazelnut paste by grinding toasted skinned hazelnuts in a food processor until they release their oils and form a paste (about 8-10 minutes of processing).
Q: Why did my ganache separate or become grainy? This usually happens when the cream is too hot or the chocolate seizes. Make sure your cream is just simmering, not boiling, and that no water gets into the chocolate. If it does separate, warm it gently while whisking vigorously, or blend with an immersion blender.
Q: How can I prevent water from leaking into my cheesecake? Double or even triple-wrap your springform pan with heavy-duty aluminum foil. Another trick is to place the foil-wrapped pan inside a slow cooker liner bag and tie it tightly before placing in the water bath.
Final Thoughts
Creating this chocolate hazelnut cheesecake has become something of a ritual for me – one that signals celebration and togetherness. There’s something deeply satisfying about the meticulous process and the joy it brings to those who taste it.
What I love most is that despite its impressive appearance, this cheesecake is truly achievable for home bakers. Yes, it takes time and attention to detail, but each step builds on the last in a logical progression. The result is a dessert that not only tastes professional but gives you a tremendous sense of accomplishment.
So set aside a day when you’re not rushed, put on some good music, and enjoy the process of creating this chocolate hazelnut masterpiece. The expressions on your guests’ faces when they take their first bite will be worth every minute spent.
And remember, even if your first attempt isn’t perfect, the journey of mastering this recipe is part of the fun. Each cheesecake gets better as you become more familiar with the technique and ingredients.
I’d love to hear how your chocolate hazelnut cheesecake turns out, and any personal touches you add to make it your own!